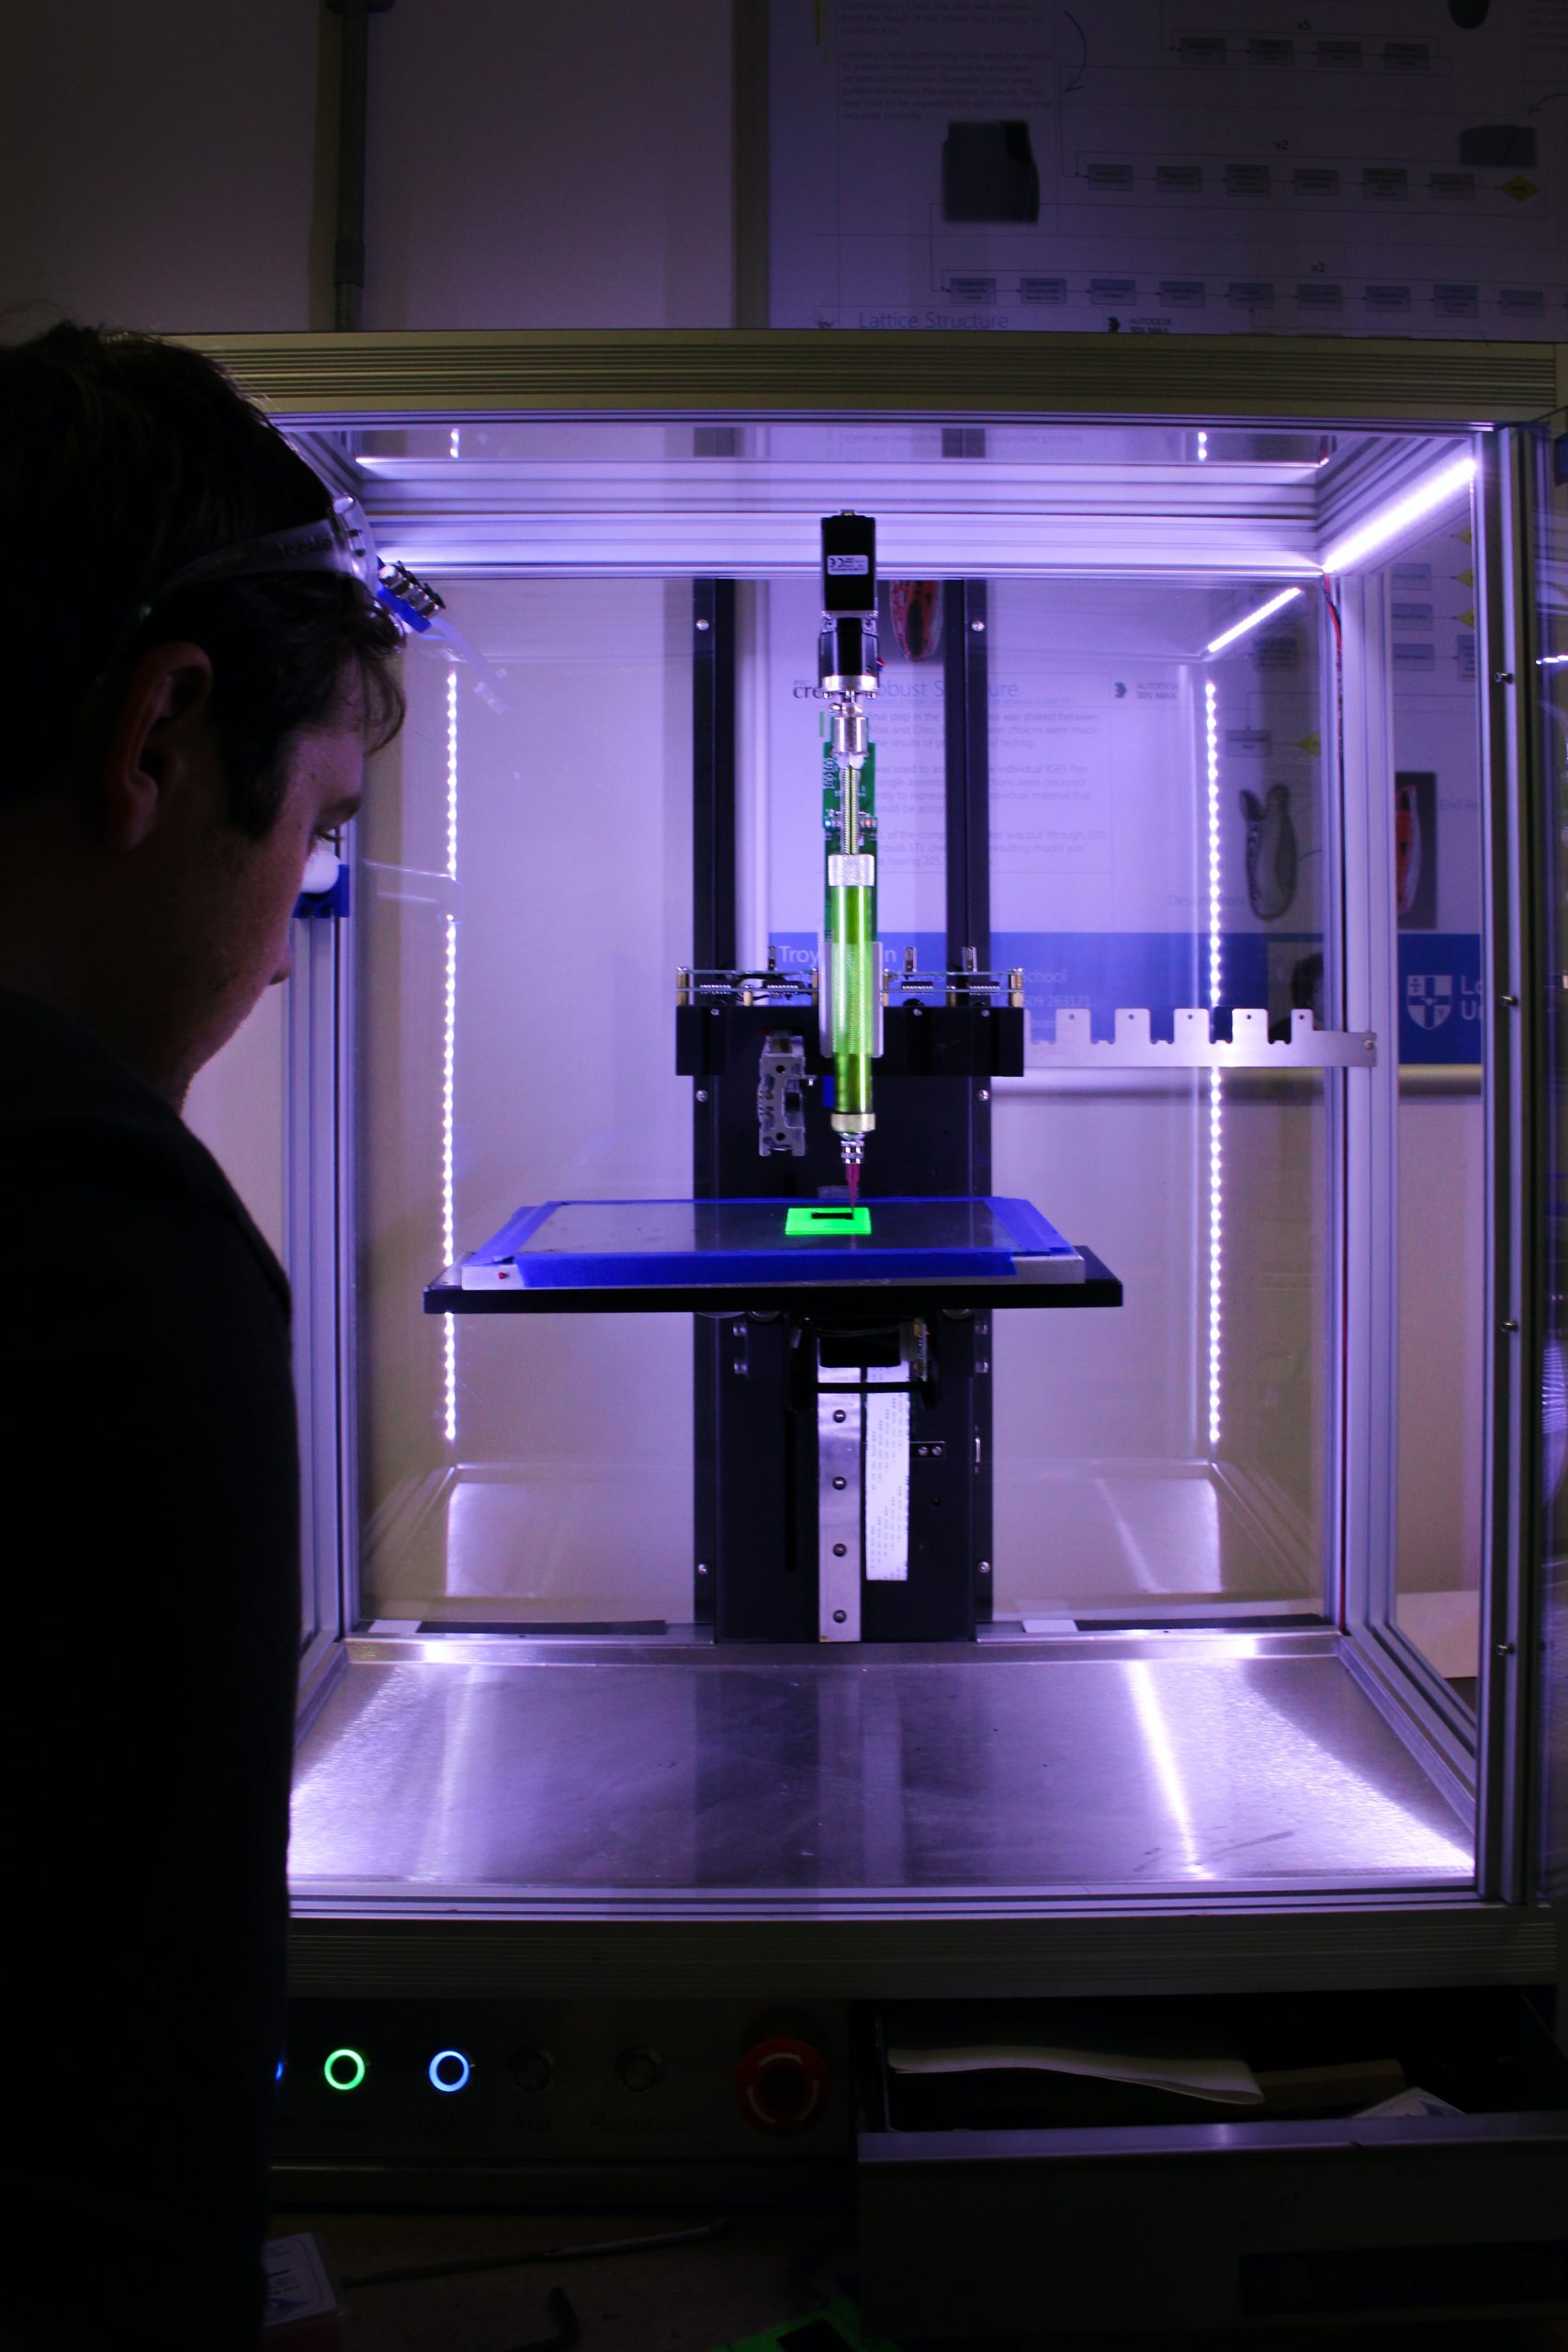
3D printing is an exciting technology that allows you to bring your digital designs into the physical world. If you’re eager to explore the world of 3D printing and want to print your first object, this beginner’s guide will walk you through the essential steps to get started. From selecting a 3D printer to preparing your design and executing the printing process, we’ll cover everything you need to know.
Step 1: Selecting a 3D Printer
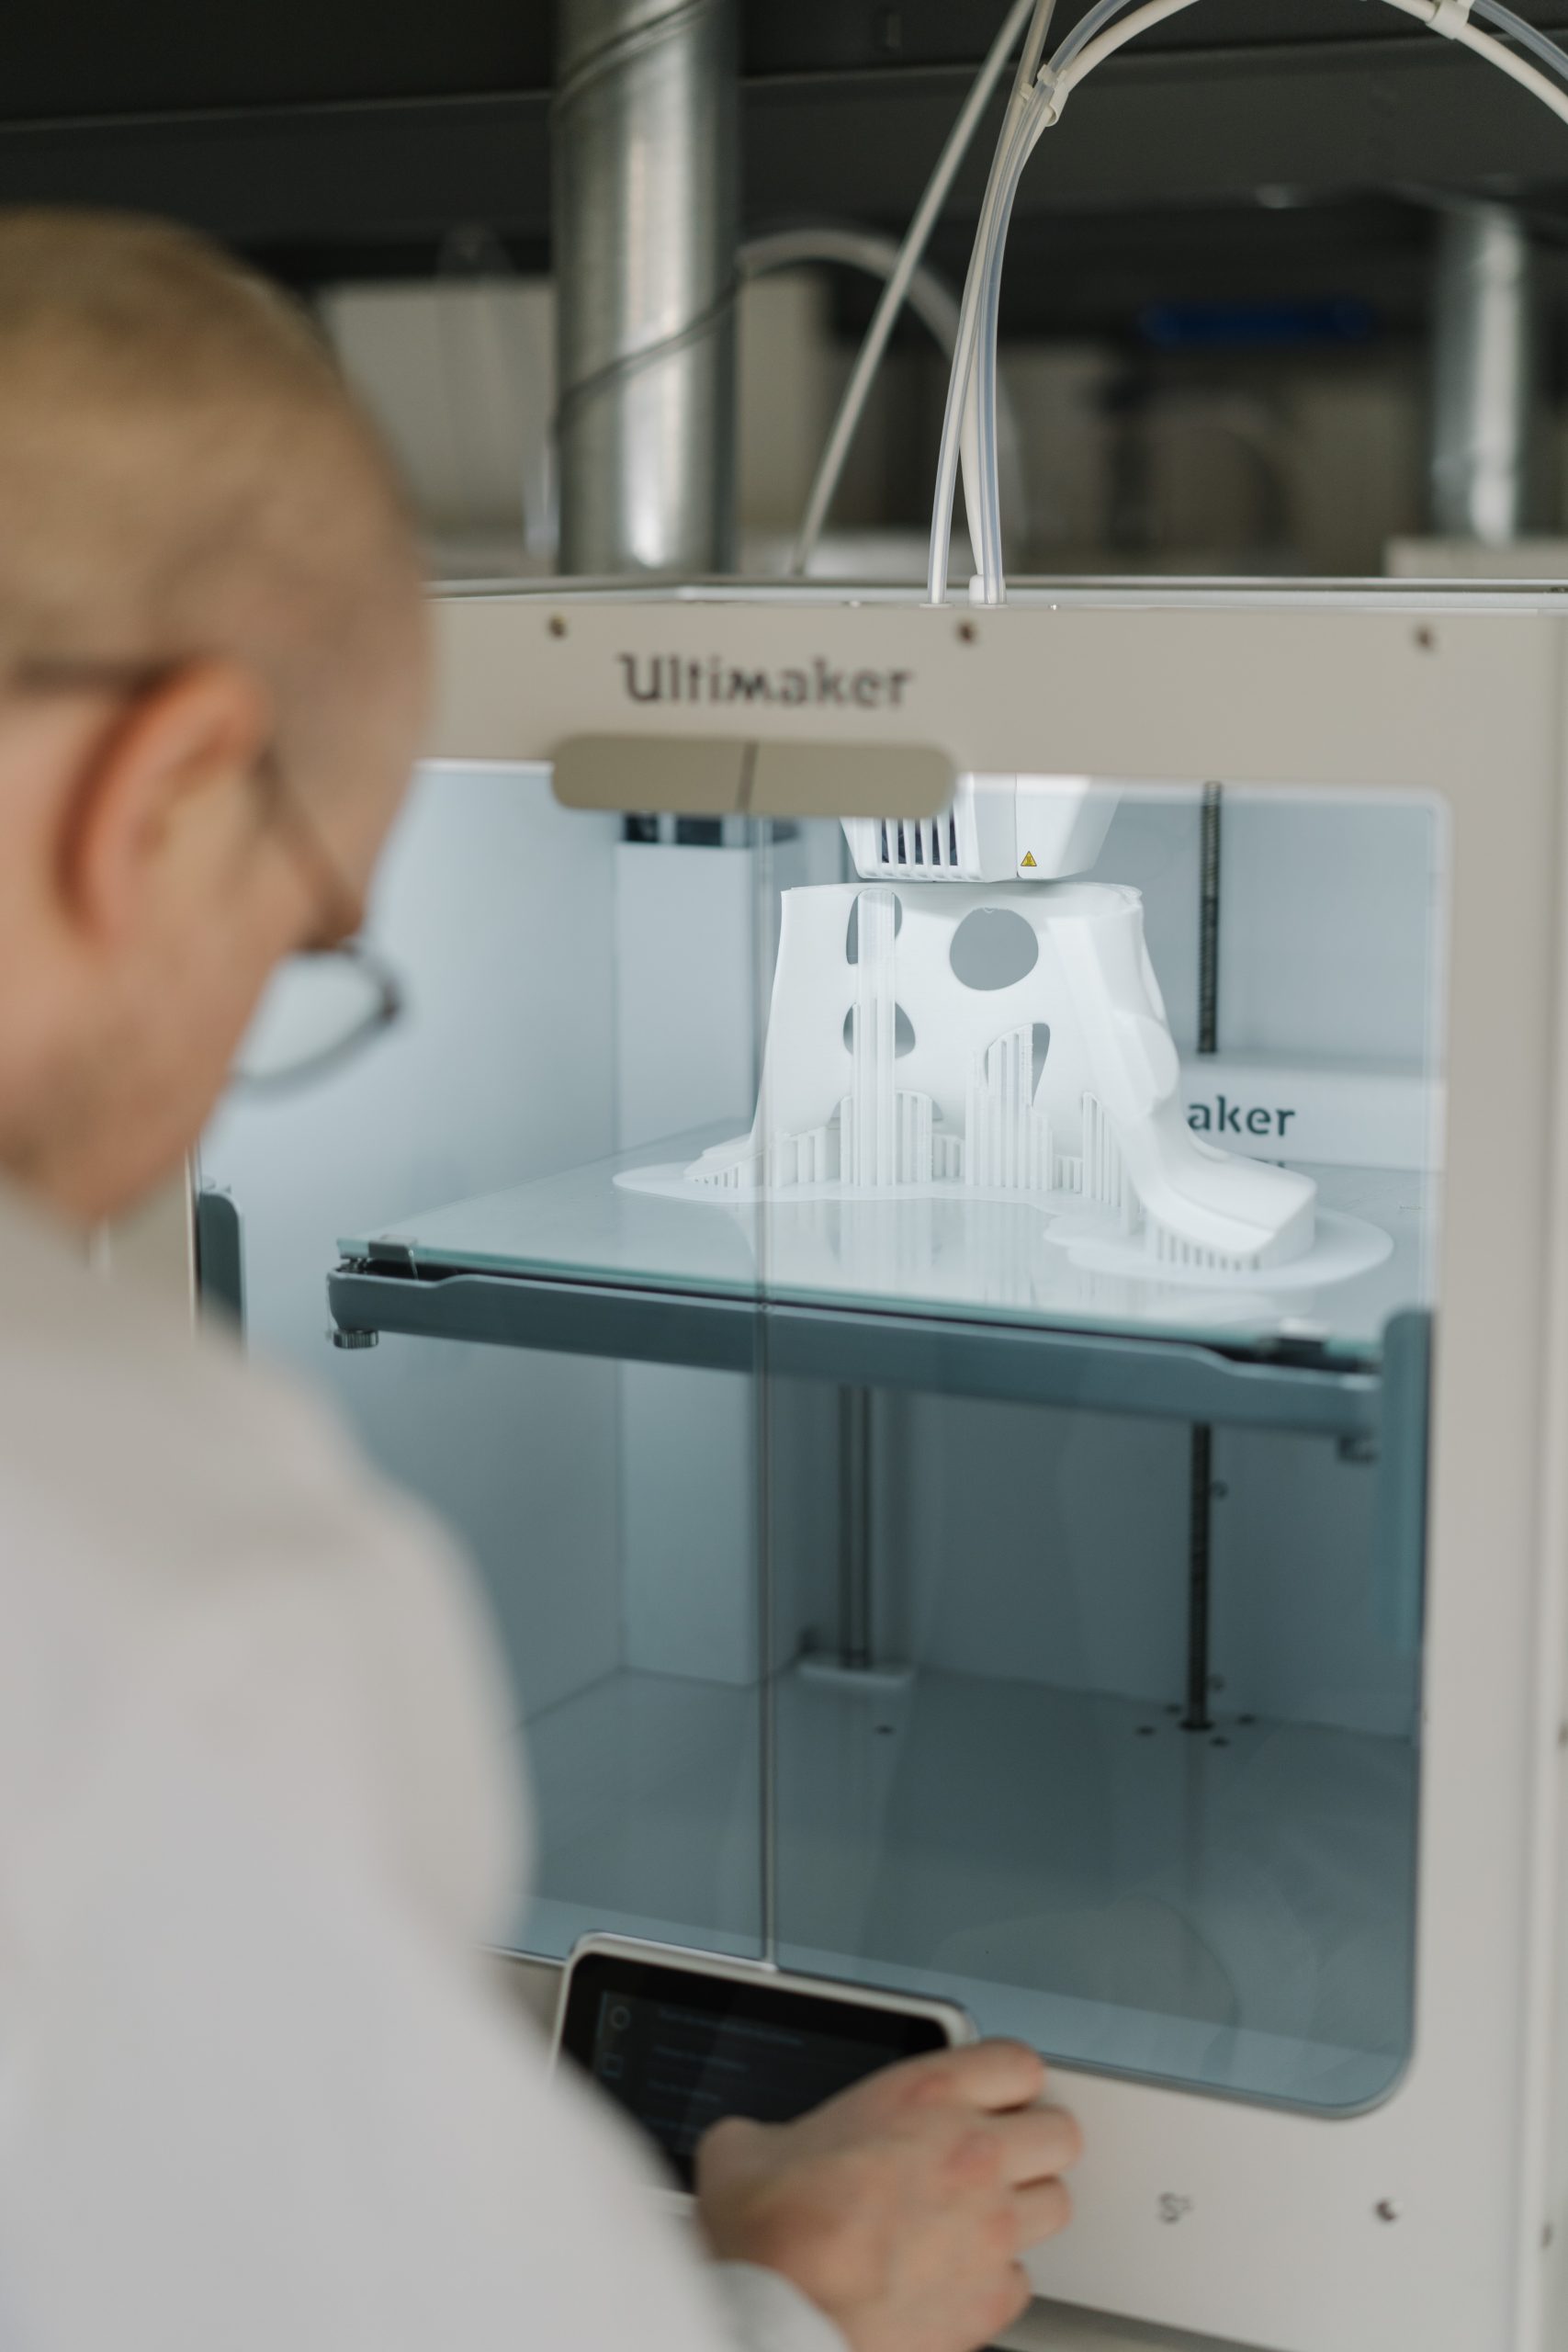
The first step in printing 3D objects is choosing the right 3D printer or 3D printing pen. Consider factors such as budget, desired print quality, available space, and level of technical expertise. Research different models and compare their specifications and user reviews to find a printer that suits your needs.
Step 2: Obtaining a 3D Design
To print a 3D object, you need a 3D design file. There are several ways to obtain a design:
a. Create your own: If you have experience with 3D modeling software, you can design your own object. Popular software options include Autodesk Fusion 360, Tinkercad, and Blender.
b. Download from online repositories: Websites like Thingiverse, MyMiniFactory, and Cults3D offer a vast library of pre-designed 3D models that you can download and print.
c. Hire a designer: If you have a specific idea but lack the design skills, you can hire a professional 3D designer to create a custom model for you.
Step 3: Preparing the 3D Design
Once you have your 3D design file, it needs to be prepared for printing. This involves optimizing the design, ensuring it is in the correct file format (usually STL or OBJ), and performing any necessary adjustments, such as resizing or adding supports for overhangs and complex geometries. Software like Ultimaker Cura, PrusaSlicer, or Simplify3D can assist in this preparation process.
Step 4: Configuring Print Settings
Before printing, you need to configure the print settings on your 3D printer. This includes adjusting parameters such as layer height, print speed, infill density, and support structures. The optimal settings may vary depending on the printer and material you’re using, so consult the printer’s documentation or online resources for recommended settings.
Step 5: Loading the Filament
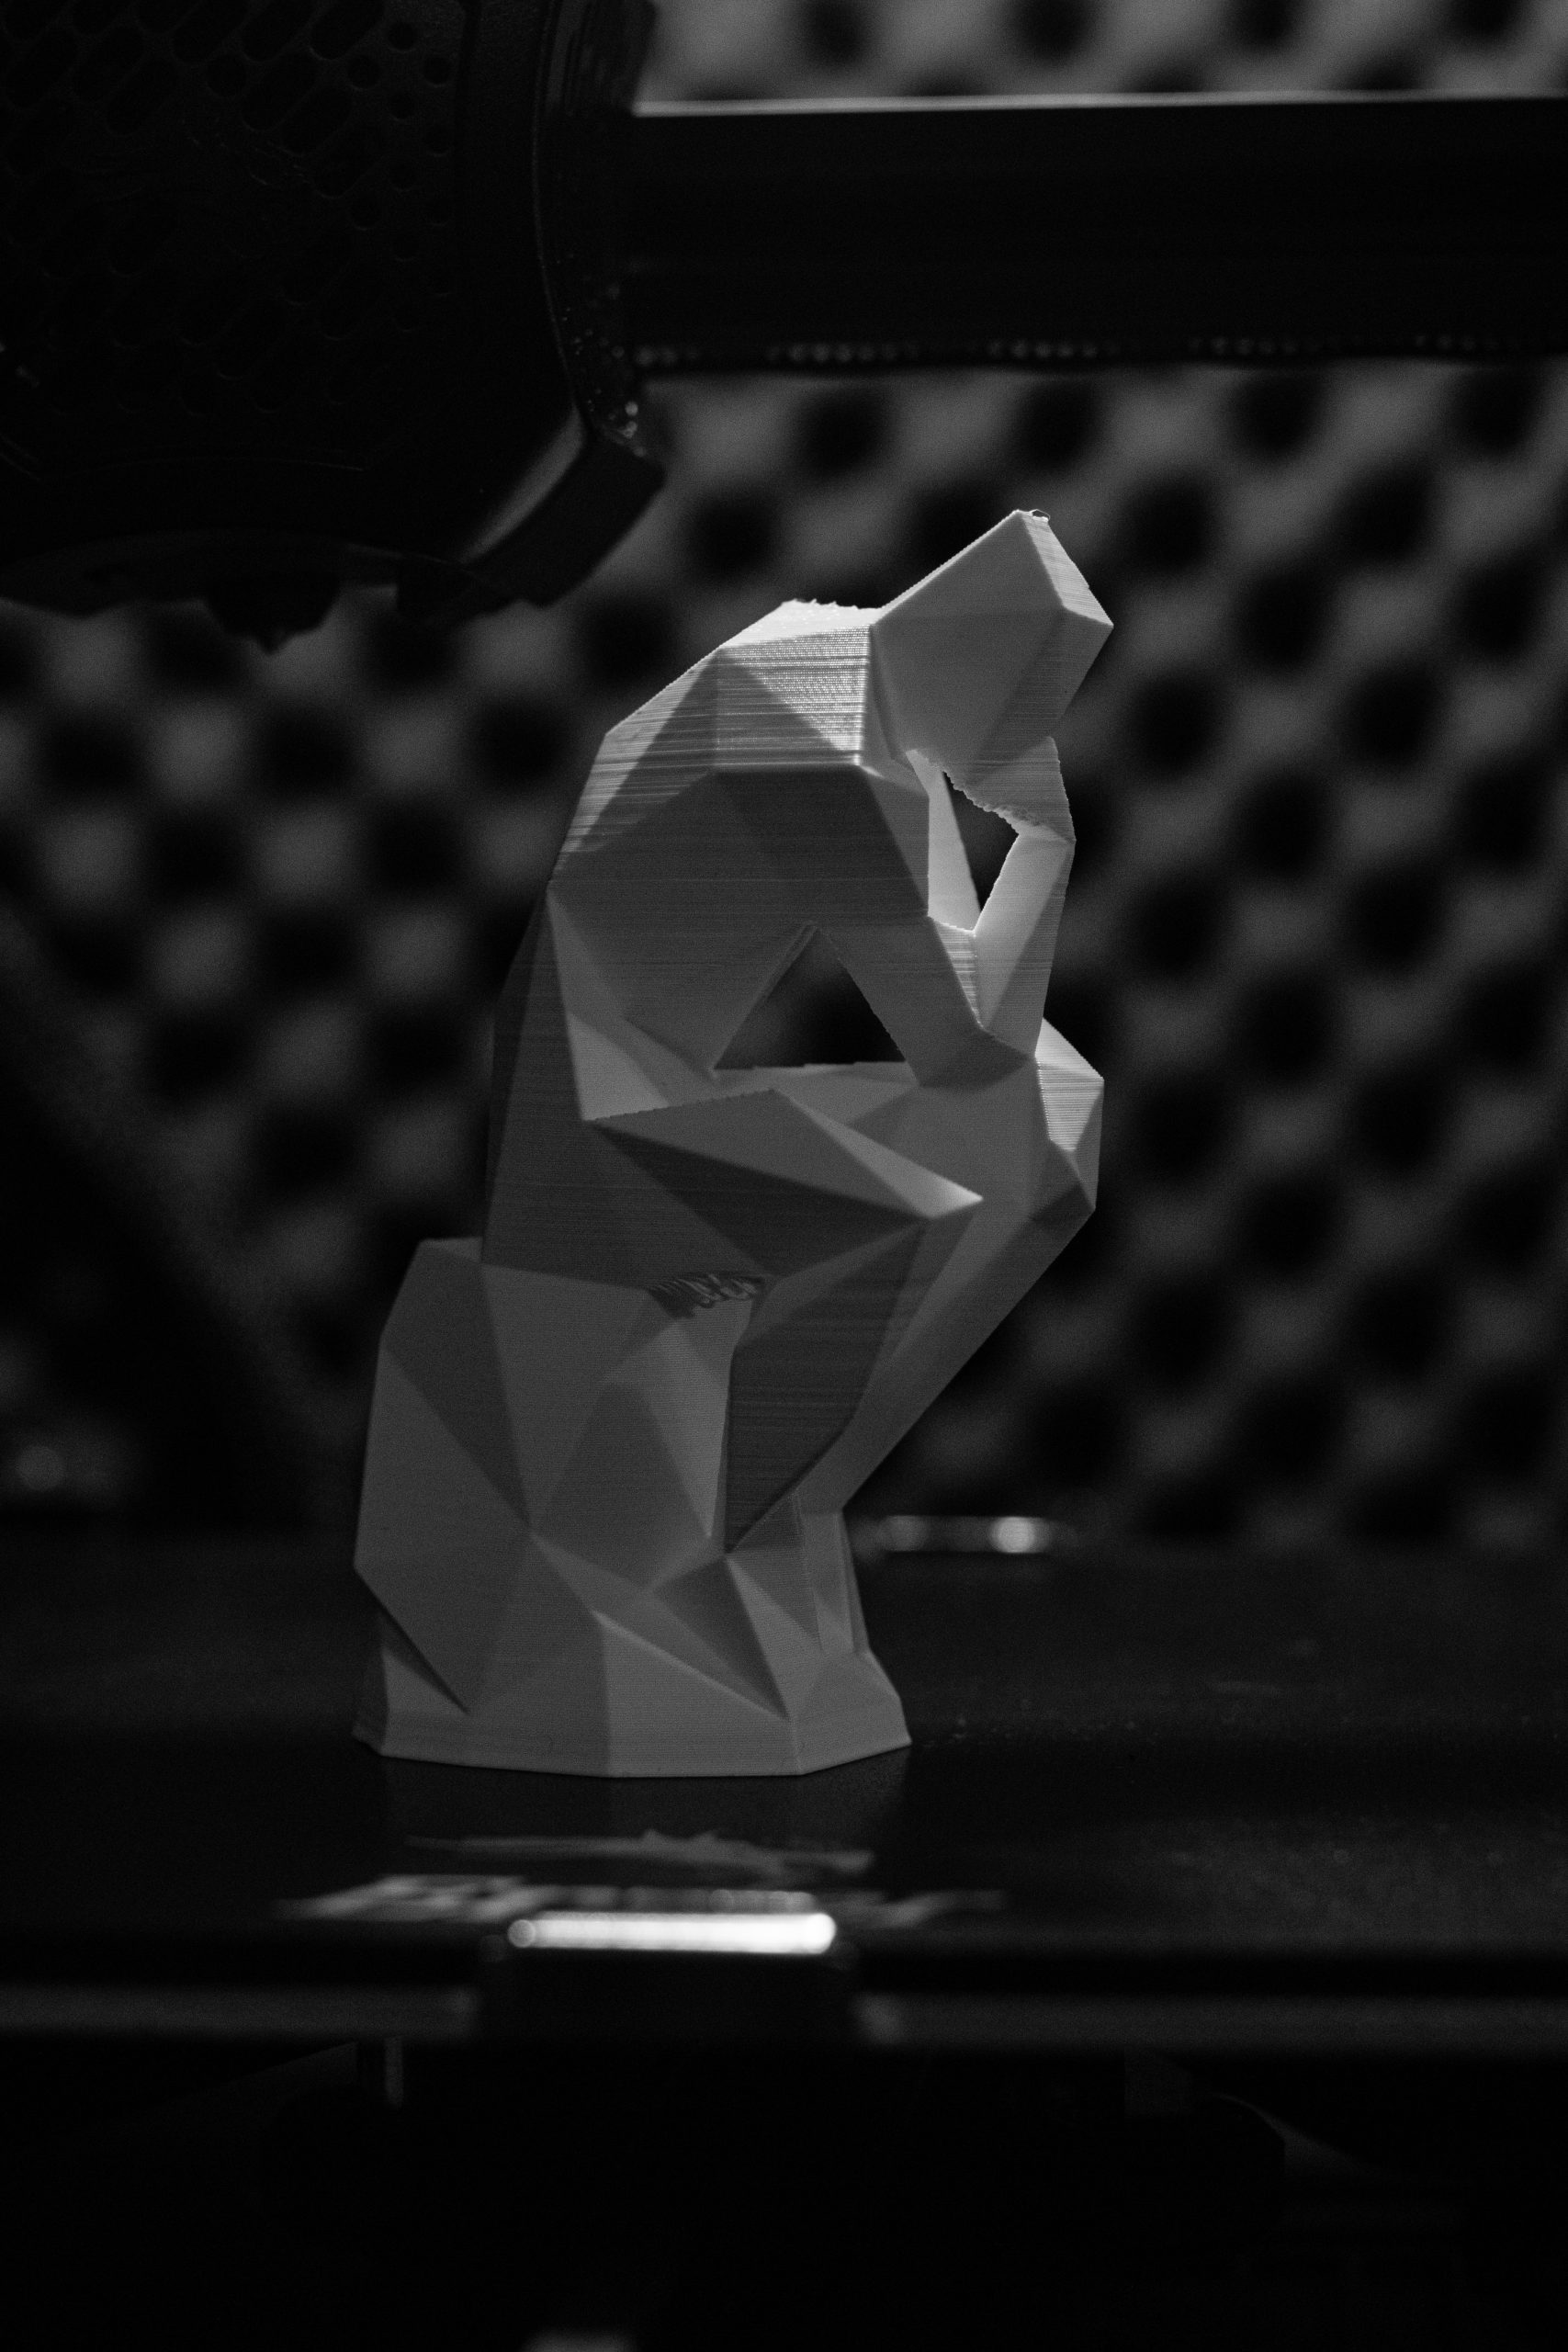
Next, load the filament into your 3D printer. Ensure that the filament type matches the printer’s specifications. Follow the printer’s instructions to load the filament correctly, typically by feeding it through the filament guide tube and into the extruder.
Step 6: Starting the Print Job
With the 3D design prepared and filament loaded, it’s time to start the print job. Depending on your printer, you can transfer the prepared design file via an SD card, USB cable, or wireless connection. Use the printer’s interface or accompanying software to select the design file, adjust any final print settings, and initiate the printing process.
Step 7: Monitoring the Print
While the 3D printer is in operation, it’s crucial to monitor the print progress periodically. This helps ensure that the print is proceeding smoothly, without any issues like filament jams or warping. Stay attentive and address any problems that may arise to avoid wasting time and material.
Step 8: Removing and Post-Processing the Print
Once the 3D print is complete, carefully remove it from the print bed or build plate. Use tools like a spatula or scraper to gently separate the object from the surface. Post-processing steps, such as sanding, painting, or applying surface finishes, can be done to enhance the final appearance and texture of the print.
Printing 3D objects for the first time can be an exhilarating experience. By following these essential steps, you’ll be well on your way to bringing your digital designs to life. Remember to choose the right 3D printer, obtain or create a 3D design, prepare the design for printing, configure print settings, load filament, start the print job, monitor the process, and post-process the final print. Embrace the world of 3D printing and let your creativity soar as you explore this exciting technology.

