Windows could not automatically detect this network’s proxy settings: Sometimes you see that depressing yellow exclamation near the network icon, and an error message saying, “Windows could not automatically detect this network’s proxy settings.” Well, here are some steps that can help you fix it. But before going into those let us have a brief idea about proxy.
The proxy acts as an intermediary between your computer and the internet. So with a proxy, you don’t connect to the internet directly. Instead, you connect to a server, and the server gets the information from the internet.
Restart the system and the router
Well, this would be the first thing anyone would do; sometimes it works magically. So, the first step you can try, restart both your computer and router. You can either disconnect the network’s proxy settings connection and try to reconnect after some time. Or you can switch off the modem and restart it. It might not always work, but it’s still worth a try. There are chances for the error to get cleared after the restart. So don’t hesitate to do this step.
Check the proxy settings.

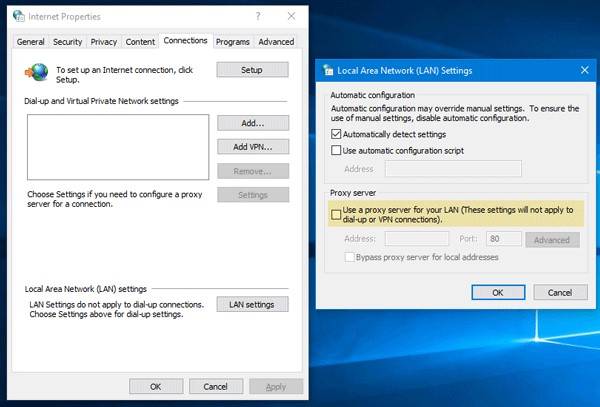
Since the issue is with proxy, it is logical to check for the proxy settings. You might have accidentally changed some of the configurations, or while installing something, there might have come some changes. It is always advisable to see the proxy settings whenever there is a network’s proxy settings issue related to it. So the next thing you can do is to check the proxy settings. Make sure to turn on the automatic detect settings. To do this follow the below-mentioned steps:
Go to Settings> Network & Internet> Proxy(on the left panel)
Here on the right side, you can see the Automatically Detect Setting option; turn it on.
Most of the time, this can be the issue. So check if the network’s proxy settings works fine after doing the above steps. If not, you can go down to see the other solutions.
Check with the network troubleshooter.

The next thing you can try is to use the network troubleshooter. There are two ways to do this. The following are those:
Right-click on the network icon on the taskbar, you will see the option Troubleshoot Problems; click on it, then the internet connection troubleshooter runs. It might take some time. And in the end, most probably you will get the result Windows cannot detect the proxy settings.
Another network troubleshooter is also available.
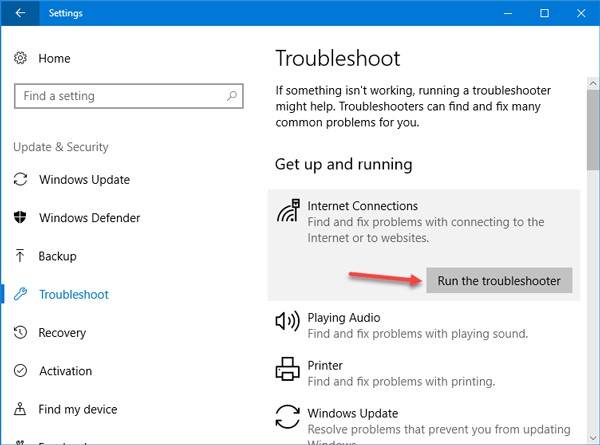
Go to Settings> Update & Security> Troubleshoot. Choose your network adapter from the list. Then the process of troubleshooting starts. Like the previous one, this too might take some time.
Well in the second option also results are not guaranteed, but it is still worth trying. And it is more effective than the first one.
Get the auto IP and DNS

If you are using an ethernet cable through a wi-fi router, this option can help, here we check if there is a misconfiguration in the IP address or DNS settings. Even if they don’t have any direct connection, any misconfiguration can cause errors. So to be on the safe side, it is better to check these too. So follow the below-mentioned steps:
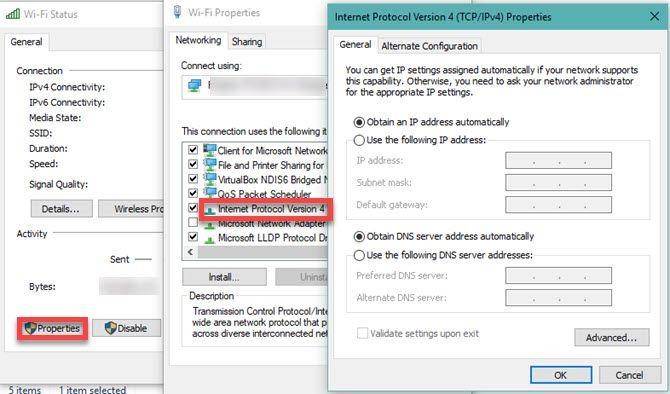
Go to Settings>Network & Internet>Status. Then choose the Change Adapter option. From there, you can choose your network.
Then choose Properties and then double click on Internet Protocol Version 4(IPV4). A window appears. Then make sure the Obtain an IP address automatically and Obtain DNS address automatically is selected.
Run a scan for malware
Malware can mess up with the proxy settings. So to get rid of this problem, you can install a trusted anti-malware and scan the entire system. The full system scanning takes some time, but it will make sure if your system is affected by any virus. The one crucial thing to keep in mind is to use high-quality anti-malware. It will help you to get rid of all the malwares, and if any other action is required, do follow that. Then again check the connection and see if it is working correctly. Then you can see if the issue was caused by malware or not.
Disable anti-virus, firewall software, or VPN temporarily.
Most of us have some antivirus or VPN app or firewall software on our system. The next option is to make sure your anit-virus or firewall software or VPN app does not mess up your network connection. To do this, try disabling these and see if the network trouble is corrected. So if the issue is with any of these, you can configure it to make sure it does not trouble you again. You have to properly check that it is not interfering with any of the network settings.
Update network driver
Outdated network drivers can cause network issues. Recently installed updates can also cause problems. To correct these issues, follow the below steps:
Right-click on the start button and choose Device Manager. In the Network Adapters section, select your network.
Choose Update Driver to see if there are any updates available on the internet.
If the trouble happened after the update, the choose Roll Back Driver option.
Reset internet settings

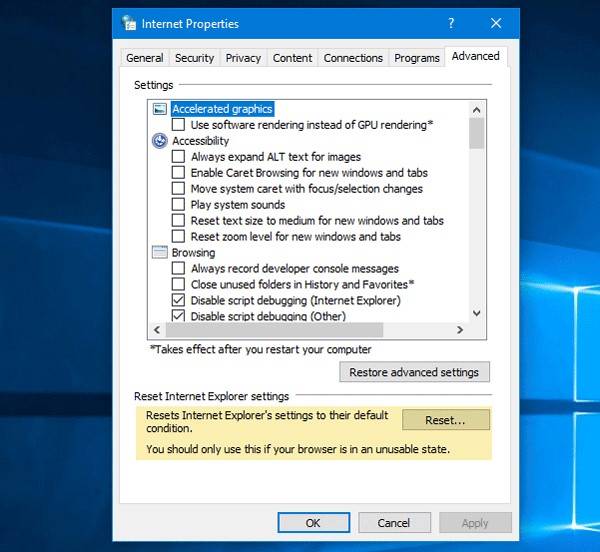
After doing all the above steps the one last thing you will have to do is to reset the network settings, so it will roll back all the changes you have made to the network settings. To do the network reset, follow the steps below:
Go to Settings > Network & Internet. On the Status tab, you can see the Network Reset option, choose it and click on Reset Now.
Note: Resetting network options means your system will forget the saved networks. You will have to log in back to all of those networks again. If you are okay with it then only click on the Reset Now button.
These are the few steps you can try to correct the error. The important part is to check the proxy settings. Make sure to switch off the proxy or if using a manual one ensure that you are using a properly configured one. Otherwise it can give you trouble. Then you will be good to go.


